Nixie Tube Clock with Alarm


I once made a nixie tube clock that looks like an alarm clock, with a nixie tube built into a standard alarm clock. At that time, I soldered the circuitry to the universal board, but this time, I'm going to make it a dedicated PCB.
Design of the PCB
Circuit Design
The anode side of the nixie tube uses a photocoupler to dynamically light each digit. On the anode side, I would like to control with a transistor without using the K155ID1 which is a general dedicated IC.
From previous experiments, each transistor has a Zener diode connected in parallel to clip the voltage. More details about this circuit can be found in the following articles:
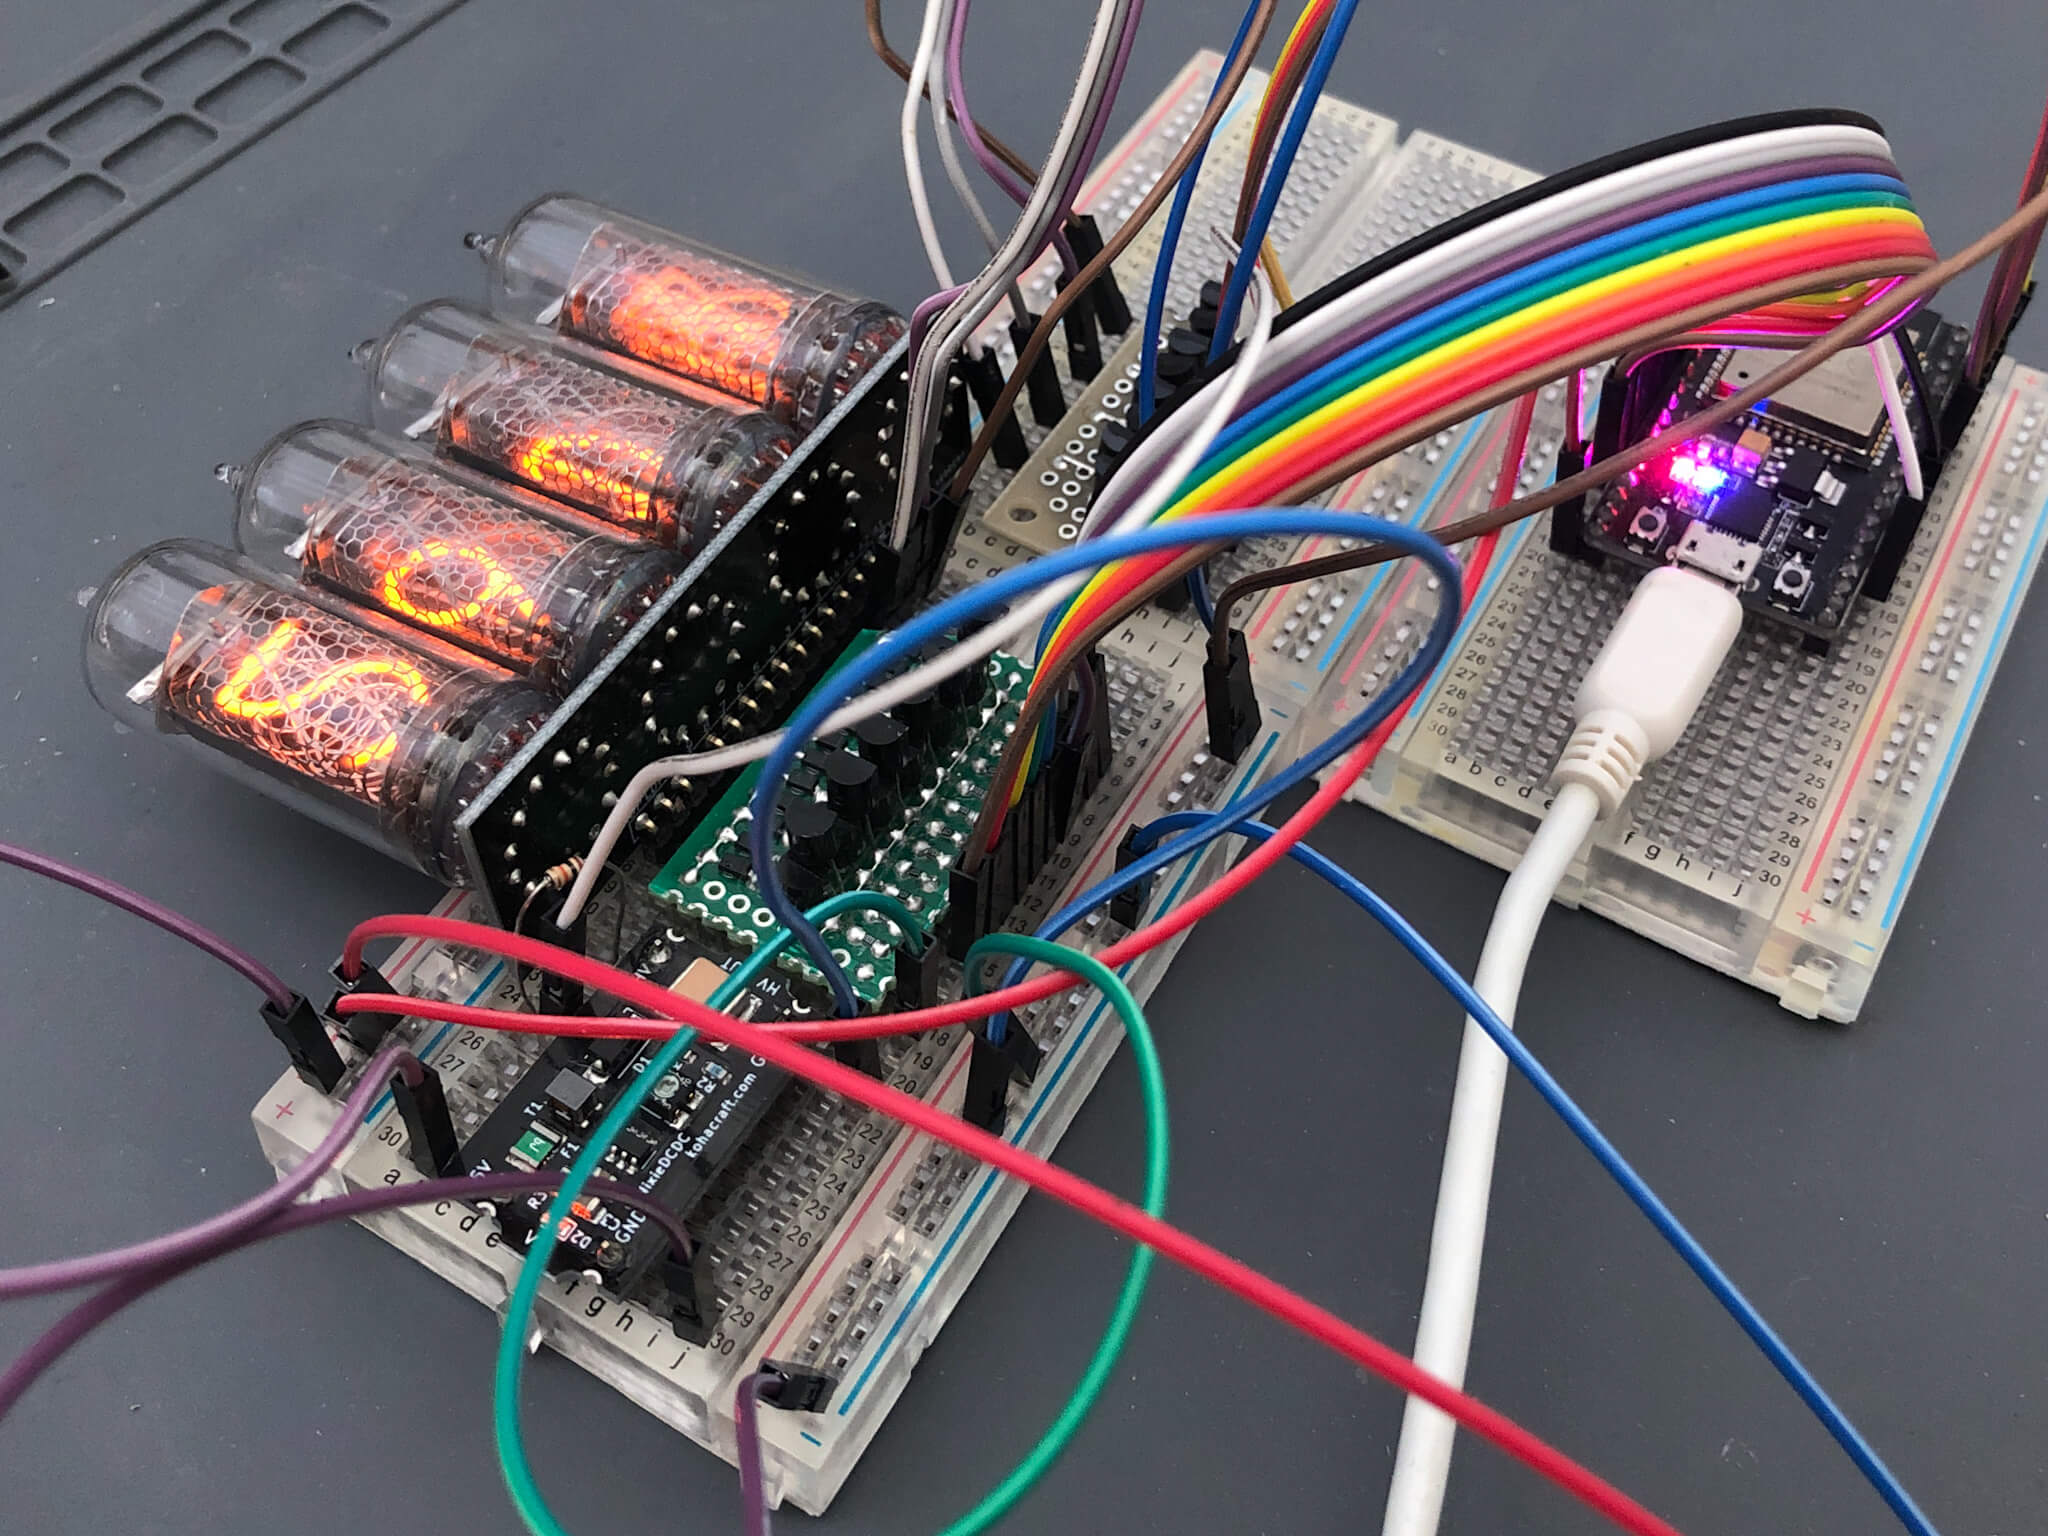
ESP32-DevKitC module of ESP32 is used for the microcomputer as it is.
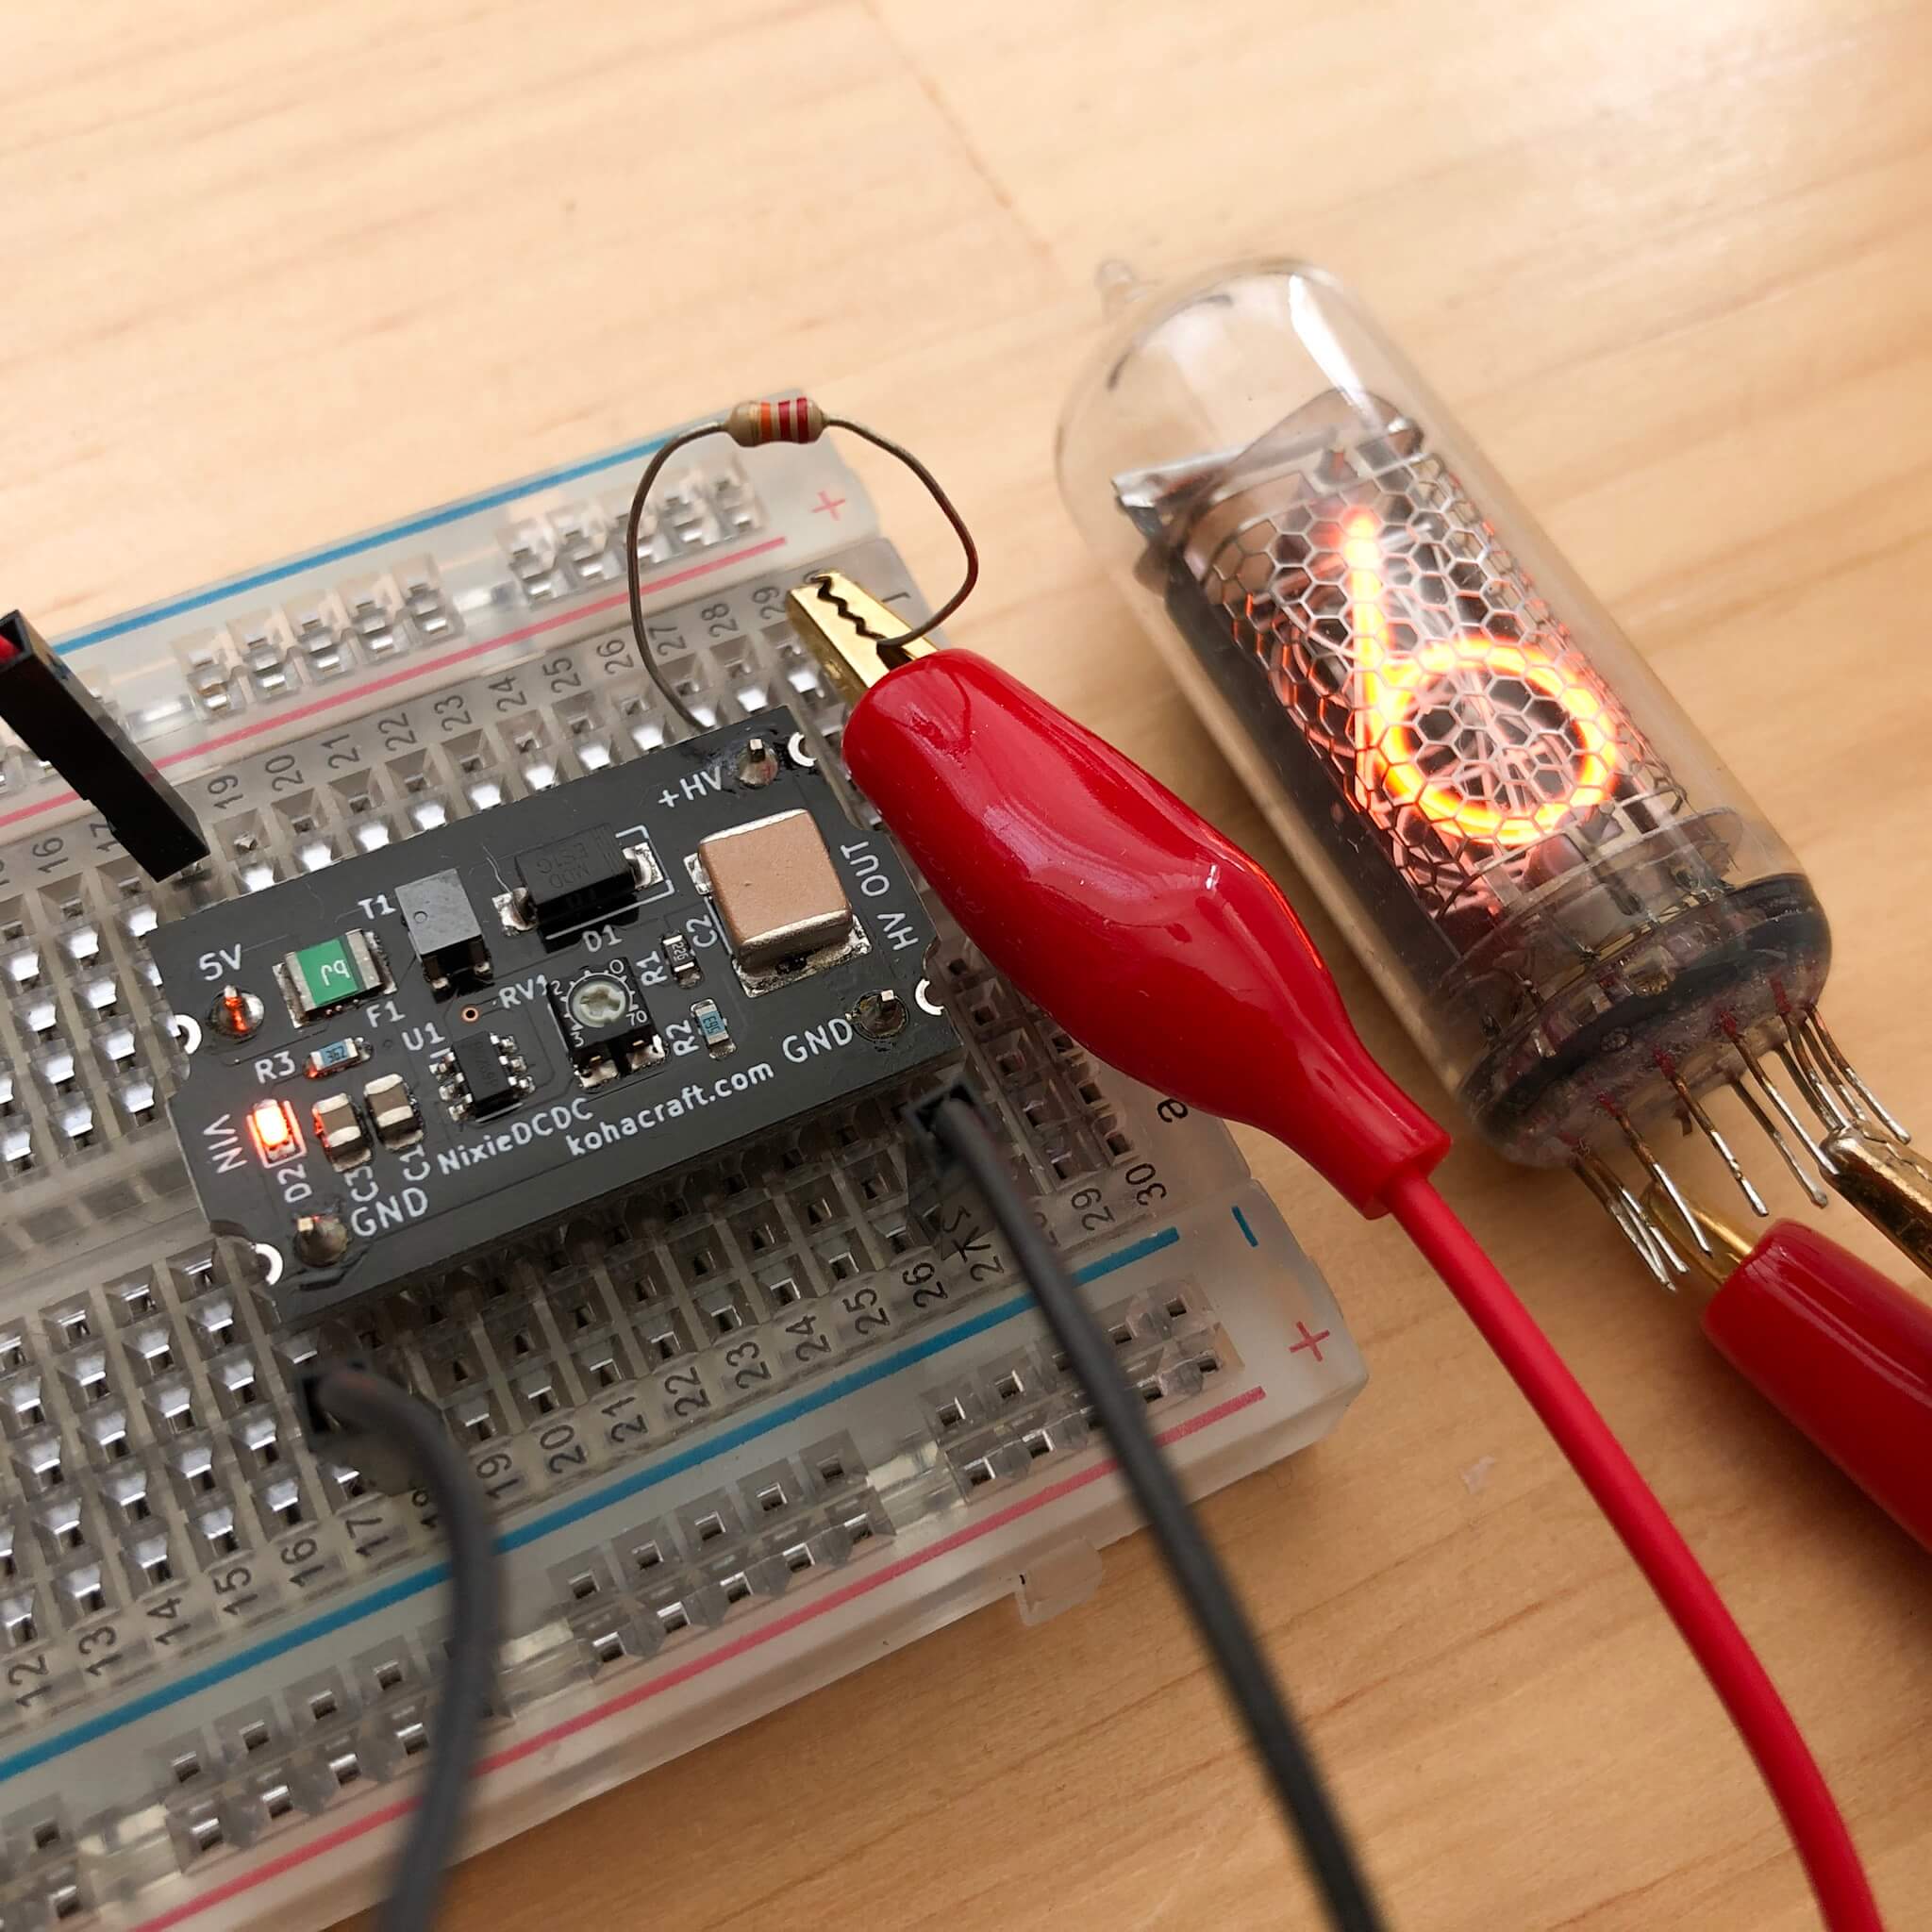
In order to get the high voltage needed for a Nixie tube, I use the DCCD converter for Nixie tubes I made earlier.
If you need this 👇here 👇 Available for purchase at.
The schematic looks like this.

The circuit is quite simple because it uses modules such as ESP32-DevKit-C as it is.
Designing the PCB
I measure the shape of the alarm clock and determine the size of the PCB and the position of the nixie tube accordingly.

The position of the PCB's outer diameter and connectors are determined, so the components are placed and wired accordingly.

The parts fit safely inside the circular PCB.

Print out the PCB data to confirm that the board and part size match the actual substrate. If you've made your own footprint or are using a footprint for the first time, it's best to match it with the real thing, as the size may be different.
Adding a discarded board

Since I intend to print solder paste on this PCB by stencil, it is not possible to print solder paste well on a circular shaped PCB. So, design a PCB with a square shape, placing the board for disposal around the main circular PCB.
I made a 1mm slit between the main PCB and the discarded board. The main PCB and the discarded board are connected at four points on the top, bottom, left and right sides with perforations. The perforation is constructed with a series of small drill holes, similar to those around a postage stamp, so that the discarded board and the main PCB can be easily separated.
Order PCB
The PCB color is matte black

I'd like to use matte black for this PCB so that the light is not reflected inside the alarm clock as much as possible. So I decided to order from FusionPCB where you can choose matte black. FusionPCB is fully Japanese compatible, so it is recommended that even beginners can order PCBs with confidence.


For Fusion PCB, you can choose "matte black" in addition to "green", "red", "blue", and other colors. However, matte black will cost the PCB a little more than other colors.
Check the PCB with Gerber Viewer

If you upload the PCB data, you can check the uploaded PCB with Gerber Viewer. Be sure to check this viewer to make sure you've uploaded the correct data.
Stencil (metal mask) order

Since I use surface mount components, I also order a stencil for printing the solder paste.
In my case, I use thumbtack to align the board and stencil. By doing this, you can easily perform highly accurate alignment. For details, see the following article.

Often a design that is designed to drill a hole in a stencil, but the operator doesn't notice the hole and won't drill it for you during manufacturing.

Therefore, be sure to use "recognition mark" to "Open". With this setup, I have never been unable to get a hole drilled.
Order Complete

Set up your shipping address, shipping method, and payment, and your order is complete.
How color is the matt black PCB? Can you make a circular board work? I'm looking forward to receiving it.
If you go to FusionPCB via the link 👇, you can get your first board manufactured for free.