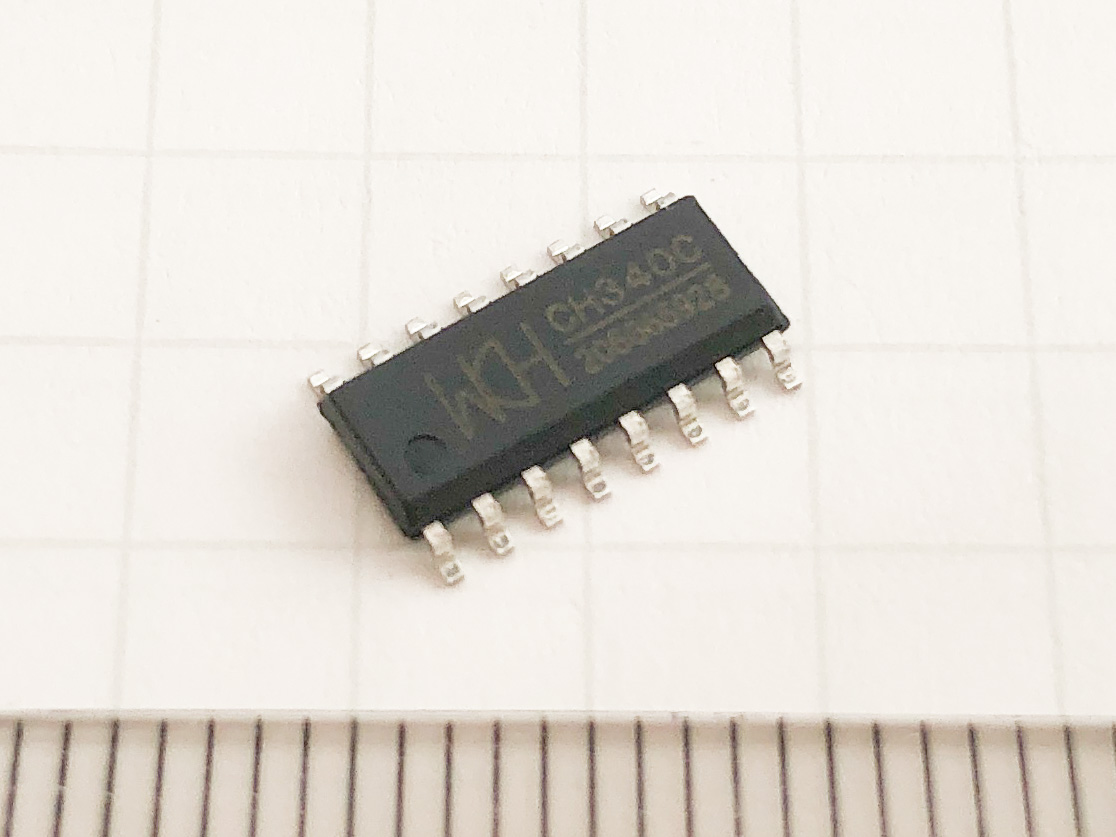

The circuit I made the other day could not recognize CH340K on my computer, so I used CH340C to make the circuit.
Here is a recent article on failed circuits.

Schematic diagram

The circuit is almost the same as the other day, using CH340C for the USB serial conversion IC, and MOS-FETs instead of transistors. It is a very simple circuit with one IC, two MOS-FETs, and two capacitors.
I feel that adding 1uF of C2 will prevent the error of not entering write mode when writing the program.
Soldering

Solder it to the universal board.

Shortly after, the circuit was completed.

Let's replace it with the ESP32-DevKitC writer circuit.
Will the computer recognize it?

When I used CH340K, it was not recognized at all, but this time it is recognized easily.

The Arduino IDE also allows me to choose the serial port for the circuit I have created.
Writing the program

I could write!
I used a MOS-FET instead of a transistor for the write circuit, but I was able to confirm that the reset signal and Boot mode signal were output correctly and that the ESP32 entered the write mode.
The program has been successfully written to ESP32-DevkitC.
The test program is a gimmick in which the hour is randomly displayed for one second when the minutes of the time on the Nixie tube clock are updated.

Simple writer circuit created
With CH340C and two MOS-FETs, I was able to create a writing circuit for ESP32.


