In the past, an experiment was conducted in which a sterilization light bulb was attached to the "E17 socket" and lit.
Now that I know how to light the sterilization light bulb, I will make a "ROM eraser" with this sterilization light bulb.
Making a ROM eraser
Constant current driver built into socket
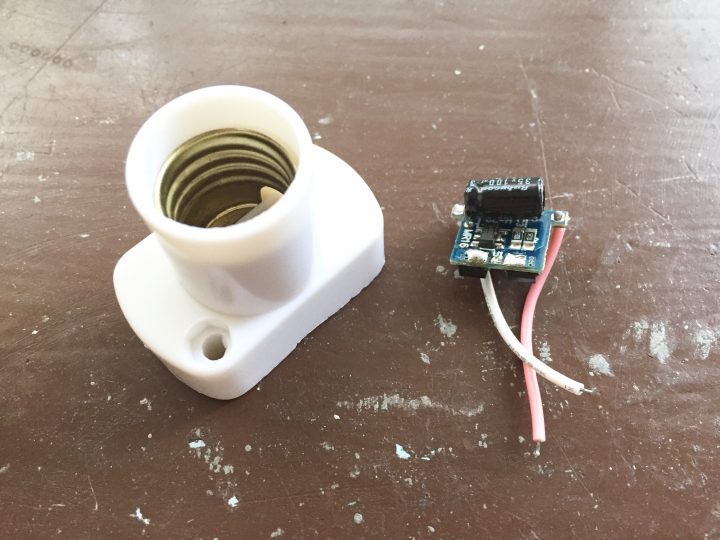
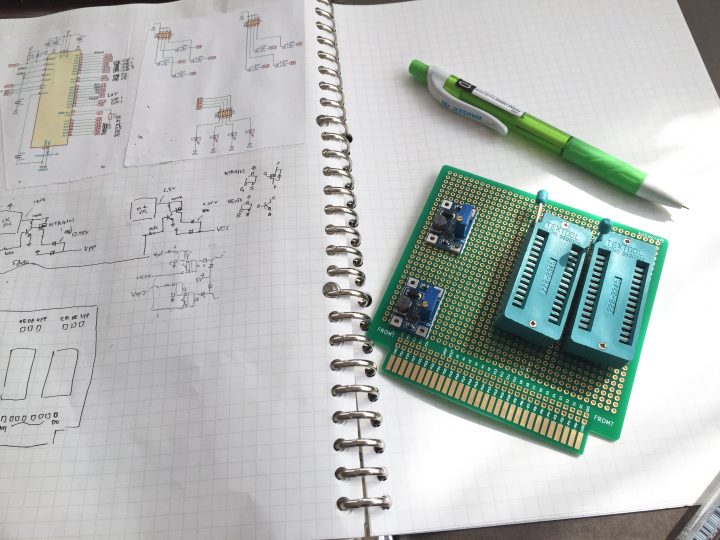
I have an E17 socket for a germicidal light bulb and a 1W LED driver.
E17 sockets are sold at home improvement retailer. The 1W LED driver is OSMR 16 - W1231.
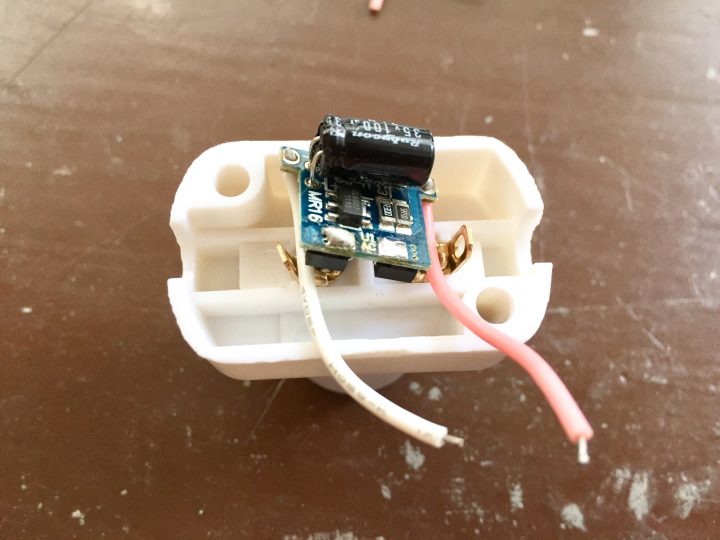
When I tried it with the LED driver in the socket, the capacitor was sticking out.

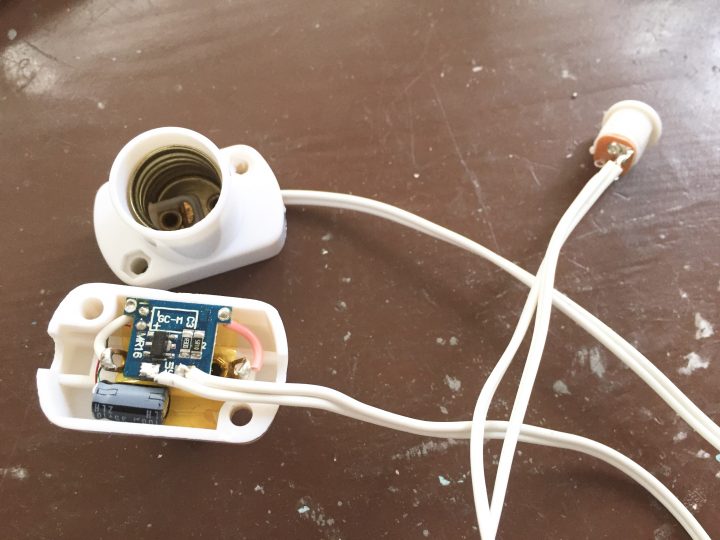
I removed the capacitor and extended it by wiring.
If the wiring is too long, the noise will increase, so the length is minimized.

The LED driver fits nicely into the socket.
I made 2 ROMs in the cassette of the Nintendo-Famicom, so I made two so that I can erase two ROMs at the same time.
Processing of the storage case

Next, I processed the storage case. Acrylic blocks ultraviolet rays, so I prepared an acrylic case. I bought a stack-able acrylic desktop box in a Japanese store called "MUJI.".

Drill a hole.
Acrylic is easy to melt, so set the rotation speed of the drill to a low speed and make a hole.
Also, if the blade is caught or pushed too hard, it will crack immediately, so open it carefully and slowly.
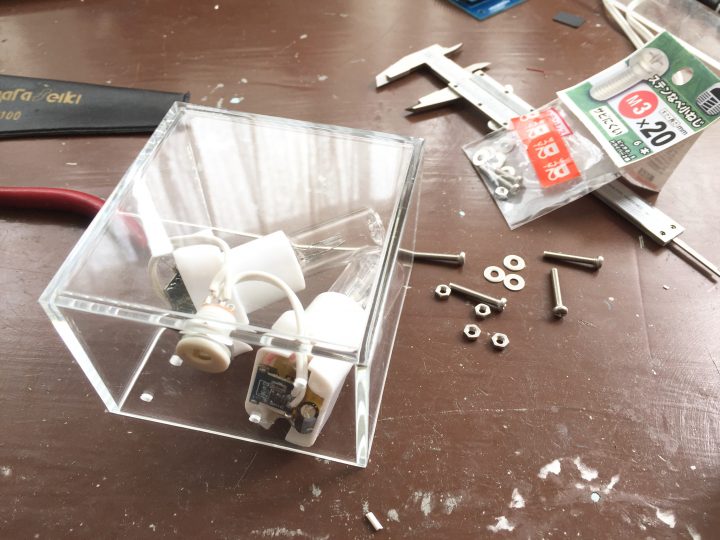
When the hole is open, screw the connector and socket together.
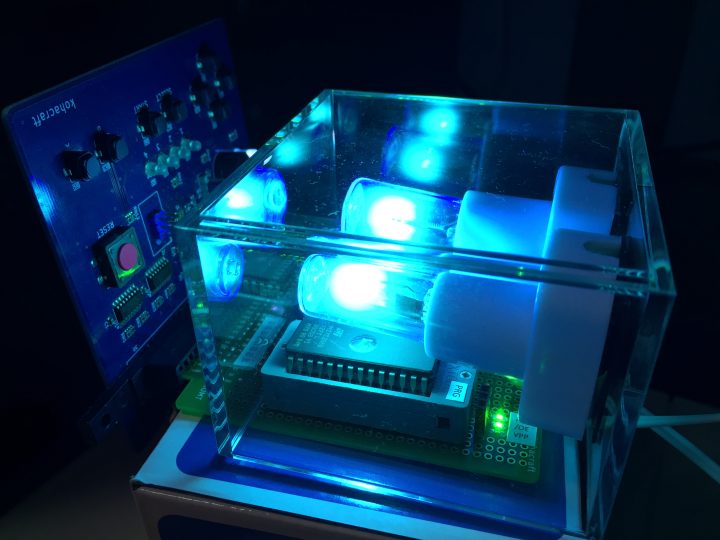
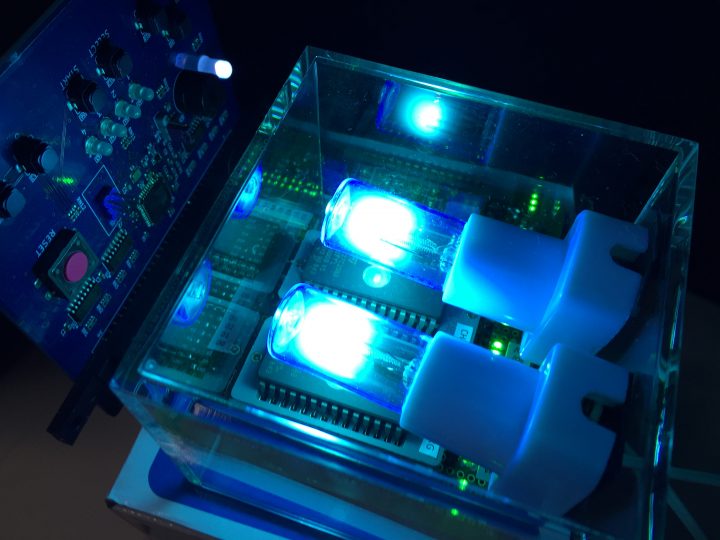
DONE!

It was pretty good.

It lights up when the AC adapter is connected to the rear connector. I used a 24V AC adapter this time.

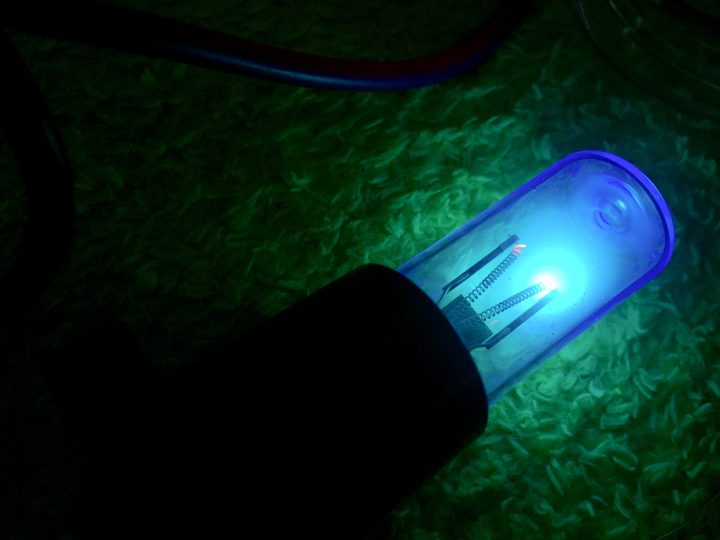
The light of the ultraviolet lamp is beautiful.
But it's beautiful.
ROM erasing experiment
Writing data with a ROM writer

Write the data in the ROM with the ROM writer I made before.
For UV-EEPROM, the ROM in the erased state has all bits set to 1. When read out, FF is read out. This time, we will prepare two ROMs, one with the image of our dog Eva and the other with all 0s written to it, and try to find out how the data changes while erasing.
Erase Started
With the ROM connected to the ROM writer, place a "ROM eraser" on it, and read the contents of the ROM while erasing the information in the ROM.

This software reads and visualizes the contents of the ROM every 1 minutes.
Indicates that white is erased.
Let's see how the erasure works
The number in the upper left of the figure below shows how many minutes it will change.
After 1 to 11 minutes ↓

This is the image data of my dog being deleted. I can see that it disappears all at once from about 5 minutes. This ROM was the first ROM to write data during an experiment, so the trace is a black pattern on the top of the image.Also, there is still a bug in the reading program, and the image is a little shaky.
This also disappears from about 5 minutes.
I see the vertical lines, but I can see the unevenness in the way of disappearing.
It is almost white (erased) in about 11 minutes.
These experiments show that the ROM is completely erased after about 15 minutes of irradiation.
The ROM eraser is completed!
I found that the ROM eraser that I made worked normally. This will allow you to write data to the ROM and experiment with it. The glow of the ultraviolet light bulb makes me feel the future.
Here is a convenient sterilization light bulb ↓.