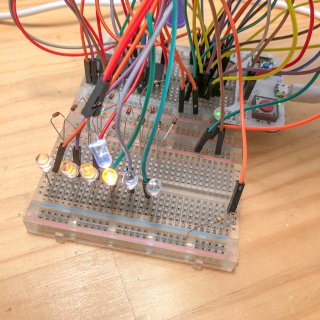
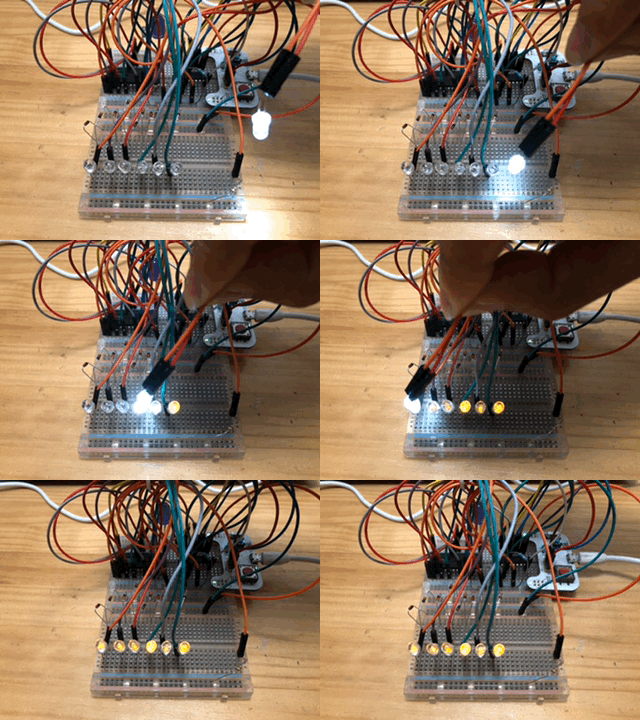
"Glowing Light Sensor"
I recently created a circuit that can be used as both a light-emitting device and a light sensor, using LEDs.
I would like to make a game using this mechanism.
"Candle panic"
It's a game in which the yellow LEDs look like candles and the white LEDs look like the fire of a match, and you have to re-light the candles that are going out more and more with the fire of the match.
More and more, the flame goes out faster and faster. If all the candles go out, the game is over.
To see what kind of game it is, check out this video.
At first, there is plenty of room for ignition, but it goes off faster and faster, and the process of igniting it gets busier and busier. At the end, the speed is so fast that it's hard to ignite.
Schematic
I added a speaker to the circuit I made the other day to make it sound.
Programming
The program is available on the mbed website.
Please import and use it.
Substrates
I've found that it works well on the breadboard and I'd like to make it the PCB.
Draw a schematic in KiCad
There were 8 LEDs on the breadboard, but I increased it to 10 when I made the PCB. Otherwise, there are no other changes to the circuit.
Artwork
I made a round PCB with the image of a birthday cake. Only the power wires are wired manually and the rest are wired with an auto-router. Fine-tune the results of the automatic wiring manually to complete the artwork.
There is a row of candles (LEDs) on the circumference of the PCB. The battery box rides in the middle. Microcontroller and IC on both sides of it. The number of diodes is amazing.
Order PCBs from PCBgogo
I'd like to order boards from PCBgogo, where you can get a $50 coupon for new registration.
New Registration
Click on "New Registration in the upper right corner of the screen to go to the "New Registration/Login" screen. Enter your "email address" and your favorite "password" in the New Registration box on the left side and click "Next".
An authentication number will be sent to the email address you have just registered. Enter the verification number and click "Confirm" to complete the registration.
Change Account Information
Set up "Membership Information" in your account information on "My Page" and click "Register".
Set the "Delivery address" as your address and click "Confirm".
That's all you have to do.
Registration of PCB data
Go to "Automatic Quote", set up the information for the PCB you want to order and click "Add to Cart".
Click "Submit Gerber Data" on the upload screen of the Gerber data and upload the zipped Gerber data. Once uploaded, click "Confirm" and you're done.
Wait for data check
When you upload your Gerber data, PCBgogo will check the data for you. Normally I would have to wait for the data check to complete while reloading this screen, but PCBgogo sent me an email with a "data check complete". This email notification feature is useful. And it only took me about 5 minutes to complete the check. It usually takes a few dozen minutes, but PCBgogo seems to be pretty quick. It's nice to have this low wait time when you want to get the order done quickly.
Payment
Once the check is complete, the status will change to "Waiting to Pay" and you can click "Proceed to Checkout" to proceed to payment.
On the payment screen, choose your shipping method. There is no credit card as a method of payment and you will pay via "PayPal".
Click on "Pay" and pay via PayPal to complete your order.
It was my first time on PCBgogo and the home page is fully in Japanese and the whole process from registration to ordering went very smoothly. The emails are all in Japanese. I thought it was a good choice for beginners.
Well, this is my first PCBgogo. I can't wait for the board to arrive.


