A little over a week after I placed my order, my Nintendo Famicom controller to USB conversion board arrived from PCBWay!
 Thank you for everything. PCBWay!
For schematics and ordering information, please click here.
Because of the button pads, the board is gold plated. The gold-plated PCB is beautiful.
In the case of solder-finished PCBs, oxidation will cause poor contact with the buttons, and over time, the buttons will become less responsive. For this reason, this PCBs are gold-plated to prevent corrosion so that they can be used for a long time.
Printing solder
First, place PCBs of the same thickness around the target PCB.
Place the stencil. It is drilled 1mm holes in the corners of the PCB and stencil, and insert thumbtacks in them to position the PCB and stencil.
For the solder paste, I used TS391LT50, a low melting point solder paste from CHIPQUIK. Since it starts melting at 138 degrees, it can be easily reflowed in a home oven. In addition, I have been using the TS391LT50 for a long time because the solder particles are finer than those of the Chinese solder paste sold in general, which allows me to print beautifully even on thin pads.
I use a used plastic card (I use a loyalty card from an electronic parts store) to print solder paste from top to bottom.
It printed beautifully.
I printed 5 sheets and was able to print beautifully all the way through without cleaning the holes in the silk screen.
Component mounting
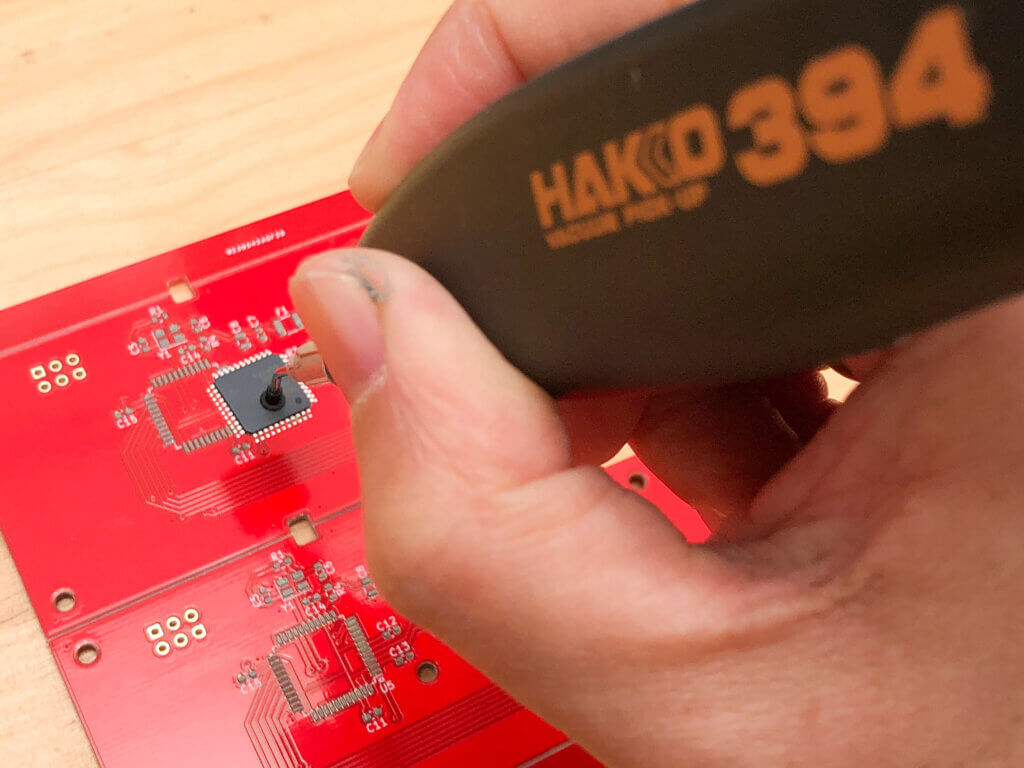
For mounting components, I use an electric vacuum pick HAKKO 394 instead of tweezers.
By changing the nozzle, it can pick and place both large-area ICs and small chip components, using the power of air to attract them.
 This tool is absolutely recommended because it can mount components in dramatically less time than tweezers.
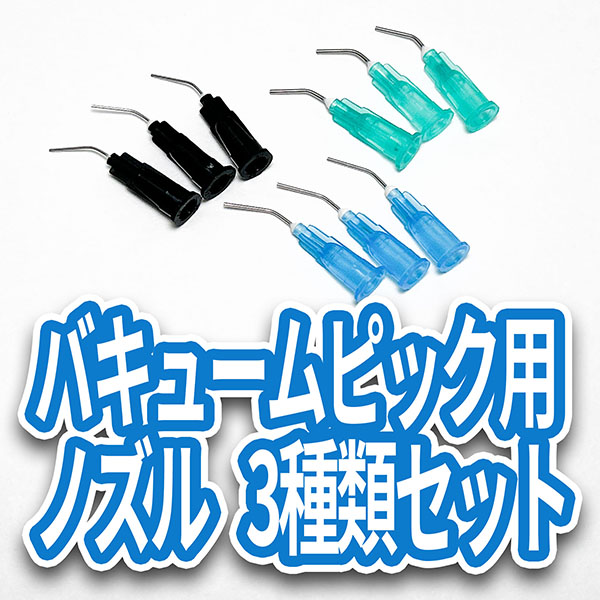
Nozzles for chip components can be purchased inexpensively here.
Since there were not that many parts, I was able to mount them smoothly.
I finished mounting all the PCBs in a short time.
Reflow
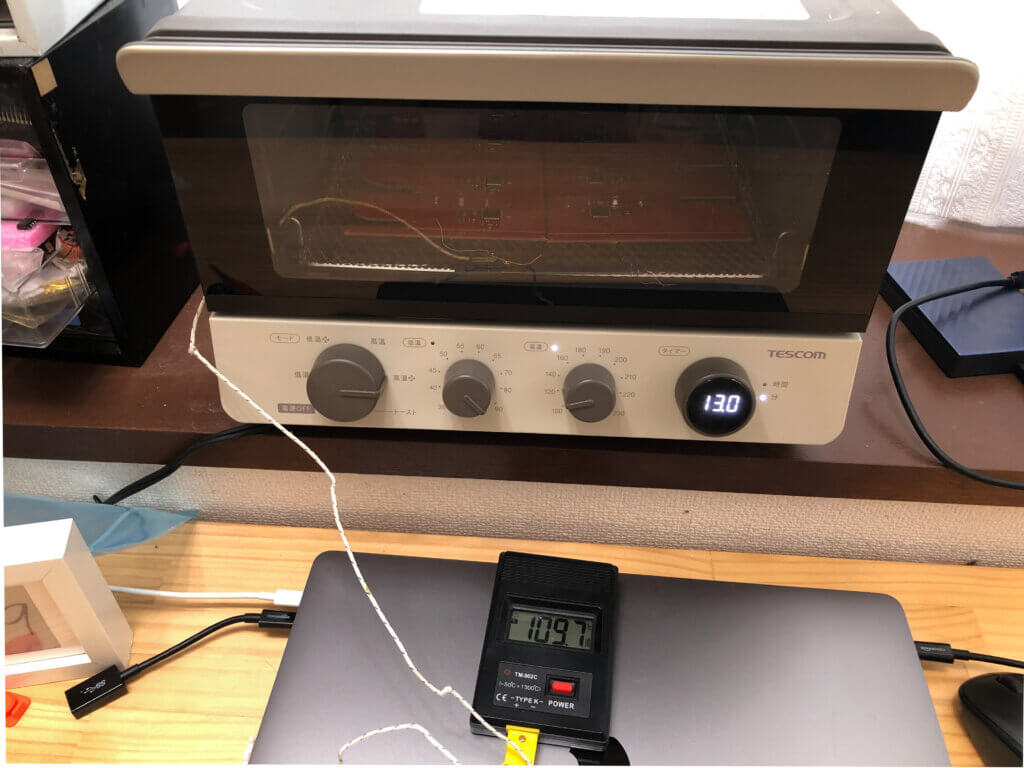
Convection oven, I use Tescom convection oven TSF601.
Convection ovens feature less uneven temperatures because warm air circulates through the chamber. This model also allows you to change the temperature while heating, so you can adjust the temperature inside the chamber according to the temperature profile of the solder paste. I use a K-type thermocouple thermometer to monitor the temperature inside the chamber.
Sometimes the temperature inside the chamber is lower than the set temperature, so I watch the thermometer and adjust the temperature setting knob to reach the desired temperature.
The reflow is completed in about 10 minutes.
Reflow of the base is complete.
Wiring
Attach the USB cable to this PCB. I used a wire stripper like the one in the picture to strip the sheathing off the USB cable.
Regardless of the thickness of the wire, you can peel off the coating by simply grasping the handle. It is not suitable for sheathing thin wires, but it is a very useful tool for sheathing thick wires, such as a USB cable with multiple wires.
The cable is soldered to the PCB.
Writing the program
As it is, no program has been written to the microcontroller, so write the Pro Micro bootloader for the Arduino.
Since it is not possible to install a connector for writing on the board, I inserted a test pin into the female connector of AVRISP and made contact with it with the test pin as shown in the picture.
For the test pins, I used P75-E2.
This pin is plugged into the AVR ISP connector with an R75-3W receptacle pull.
Once the boatloader is written, the PCB will work as an Arduino Pro Micor. The next step is to write the gamepad program in the Arduino IDE.
The program can be downloaded from kc_fcpad1. This is a simple program that is a slight rewrite of the sample program.
Once the Arduino program is written, it will work as a gamepad. The Nintendo Famicom controller USB kit PCB is now complete.
Modifying an Nintendo Famicom controller
Now, let's try to convert the Nintendo Famicom controller to USB using the completed PCB. First, unscrew the back cover of the Nintendo Famicom I-controller.
Remove the PCB that is originally in this.
Place the completed PCB inside. The shape and the position of the holes were perfect.
 Close and screw down the back cover.
The USB Nintendo Famicom controller is complete. Modification is very easy.
Play with it
I'm playing with a Mac console emulator, OpenEmu. In the controller settings screen, I will configure the buttons.
Oh, wow, wow, wow! I can enjoy an Famicom emulator with an Famicom controller. This is impressive. I feel something nostalgic. This is fun.
The NES controller USB conversion kit introduced here is available here.


