When you use a laser cutter to make a stamp, you usually use silicone rubber.
This time I would like to make a stamp by cutting MDF with a laser cutter.
Create data

Place the text in Illustrator and subtract the surrounding frame and text (boolean operation) to invert the black and white. Flip it left or right so that it looks normal when you press the stamp. Draw an outline square on a separate layer to be used as a line for cutting with the laser cutter.
Prepare

Load the SVG file into SmartDIYsCreator.
Use 4 mm thick MDF as the board for making the stamp. The EtcherLaserPro's camera function is used to photograph the board. This board is mostly scrap wood, but there was a little empty space, so I set that up as a space for the stamp. This camera feature is really useful. You can use the boards without wasting them.
Set the parameters. Set the engraved part of the stamp (the part to be dug in) to the following value.
・Power: 100%
・Hatching: 0.1mm
The cutting part is set as follows.
・power: 100%
Start engraving & cutting

The stamp is dug into the empty space on the board.

The stamp is engraved & cut in about 3 minutes.

It was dug out about 2 mm, and the letters are clearly popping out. There is dirt on the surface.

I wiped the surface with alcohol to remove any dirt.

It's pretty good, isn't it?
Stamp it

The ink is then flattened onto the stamp.

Since the stamp is made of MDF, which is a hard material, I put a silicon sheet on the back of the paper to make it easier to transfer the ink.

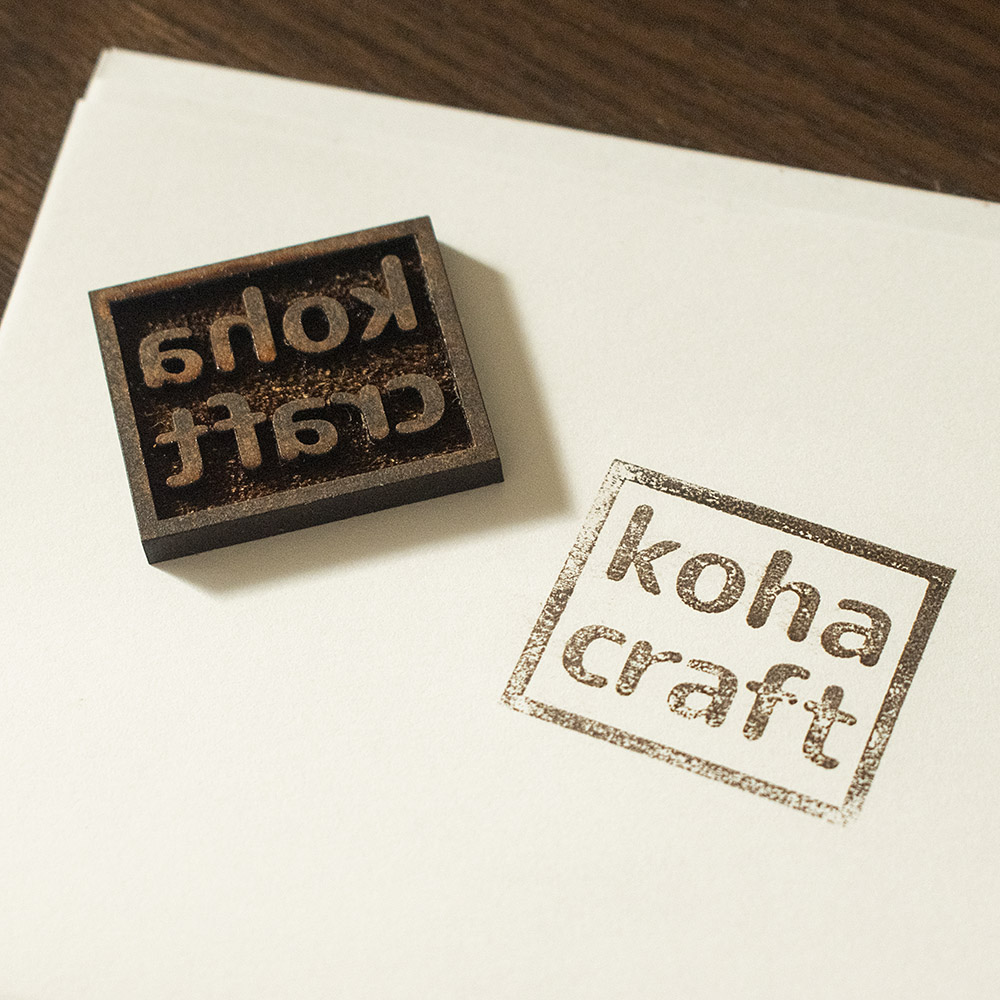
It was stamped with a faint look, but that gives it a nice touch.
The laser cutter has made a stamp!

The material is MDF, not silicon rubber sheet, but I was able to make a stamp using the EtcherLaserPro laser cutter. Next time, I would like to try it with silicon rubber sheets.
It seems that natural rubber sheets can be used instead of silicon, but the smell during processing seems to be strong, so I will not do it.


